🚀 Getting Started with IDUN on Windows
IDUN is NTNU’s high-performance computing (HPC) cluster, designed for large-scale simulations, optimization, and data-intensive research.
For Windows users, the workflow typically includes:
- 📁 Accessing IDUN storage (network drive)
- 🔐 Connecting via SSH (PuTTY)
- ⚡ Running jobs (interactive / SLURM)
- 🧪 Managing environments (Conda, Python)
- 📊 Monitoring resources
This guide walks you through a practical, step-by-step setup.
📁 1. Access IDUN Files from Windows (Recommended)
The easiest way to work with IDUN is by mounting it as a network drive.
⚠️ Requires NTNU VPN or campus network
Steps
1. Open File Explorer → This PC
2. Click Map Network Drive
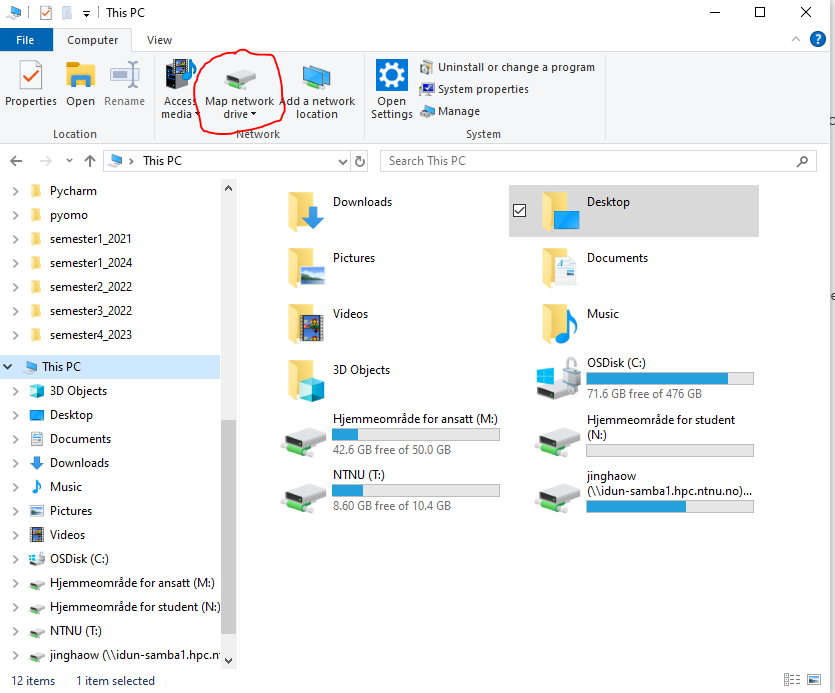
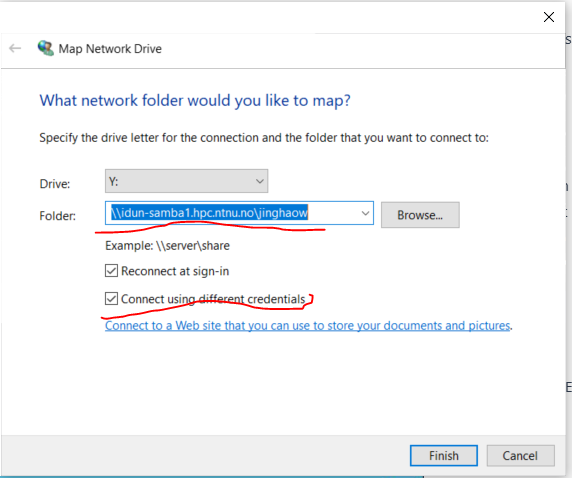
3. Enter network path
1 | \\idun-samba1.hpc.ntnu.no\<username> |
<username>= your NTNU FEIDE username- Tick: ✅ Connect using different credentials
4. Login format
1 | WIN-NTNU-NO\<username> |
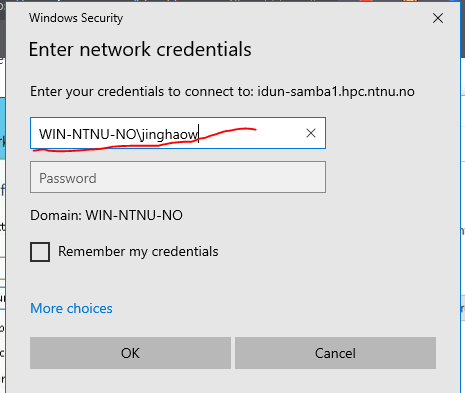
5. Enter password → Done ✅
You now have direct access to IDUN storage from Windows.
📚 More info:
https://www.hpc.ntnu.no/idun/documentation/transferring-data/
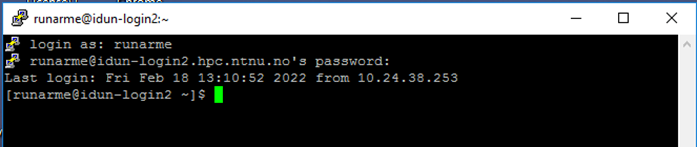
🔐 2. SSH Login via PuTTY (Optional)
PuTTY allows terminal access to IDUN.
1. Configure connection
- Host:
1 | idun-login1.hpc.ntnu.no |
or
1 | idun-login2.hpc.ntnu.no |
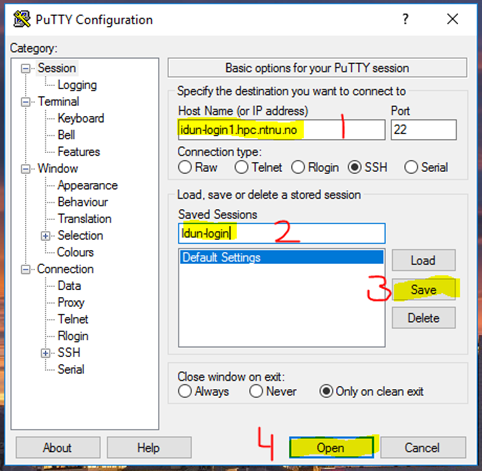
2. Login
- Username: NTNU username
- Password: (hidden input)
⚡ 3. Request Compute Resources
You must request compute resources before running jobs.
Interactive session
1 | salloc --account=share-ie-iel --nodes=1 --cpus-per-task=16 --time=01:00:00 --constraint="pec6520&56c" |
Explanation
salloc→ allocate resources--account→ project account--nodes→ number of nodes--cpus-per-task→ CPU cores--time→ max runtime--constraint→ hardware selection
Check available resources
1 | sinfo -a -o "%22N %8c %10m %30f %10G" |
Connect to assigned node
1 | ssh idun-xx-xx |
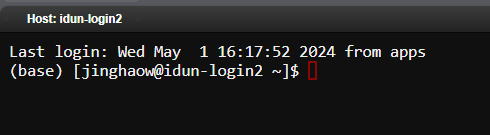
🌐 4. Using OnDemand (Web Interface)
IDUN provides a modern web interface:
Login → Clusters
🧪 5. Python & Conda Environment
Load Anaconda
1 | module load Anaconda3/2022.10 |
Create environment
1 | conda create -n <env_name> python=3.8 --channel conda-forge --yes |
⚠️ Important: Always load Anaconda before using Conda
1 | module load Anaconda3/2022.10 |
📦 6. Install Optimization Tools
Add Gurobi channel
1 | conda config --add channels https://conda.anaconda.org/gurobi |
Install Gurobi
1 | conda install gurobi=9 --yes |
Add conda-forge (recommended)
1 | conda config --env --add channels conda-forge |
Install Pyomo & solvers
1 | conda install openpyxl |
📓 7. Jupyter Notebook Setup
Install kernel
1 | conda install ipykernel |
Check kernels
1 | jupyter kernelspec list |
⚙️ 8. SLURM Jobs (Batch Processing)
Sequential job (sbatch)
Example Python file
1 | for i in range(20): |
SLURM script
1 |
|
Submit job
1 | sbatch test.slurm |
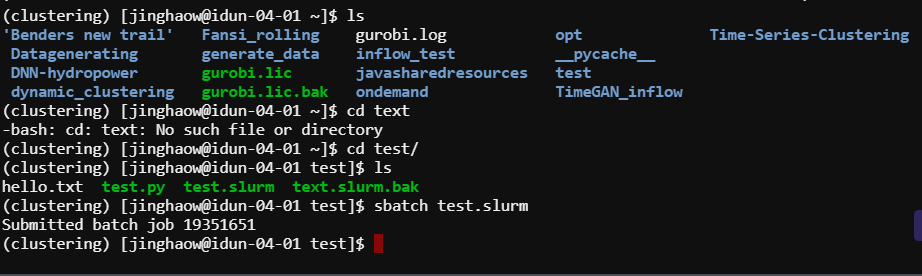
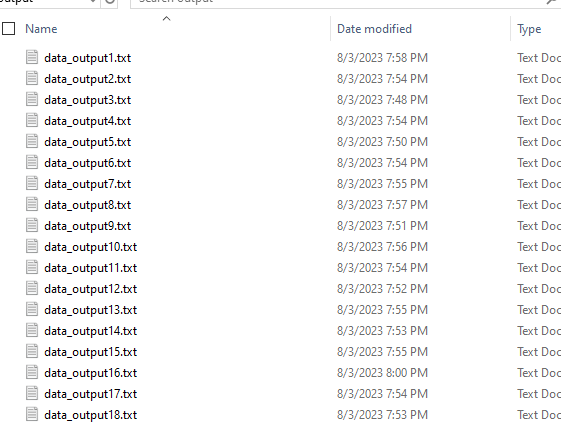
Output example


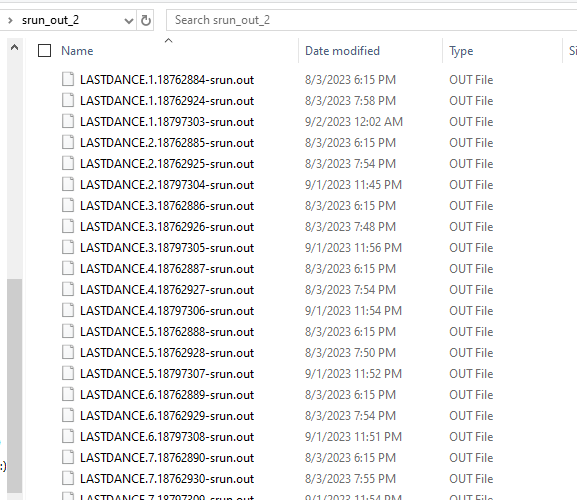
⚡ 9. Parallel Jobs (srun)
Python example
1 | def test(numb): |
SLURM script
1 |
|
Logs & output
🛠️ Useful Commands
Conda
1 | conda list |
System
1 | who |
Edit .bashrc
1 | vim ~/.bashrc |
i→ insertEsc + :wq→ saveEsc + :q→ quit
Check resources
1 | sinfo -a -o "%22N %8c %10m %30f %10G" |
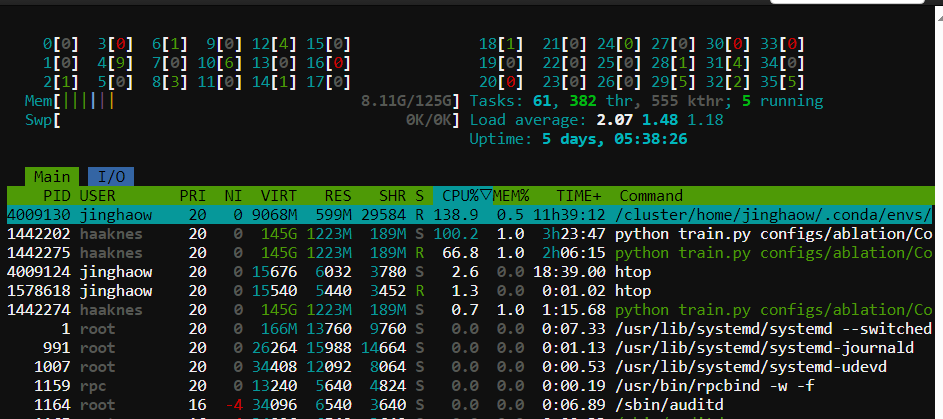
Monitor usage
1 | htop |
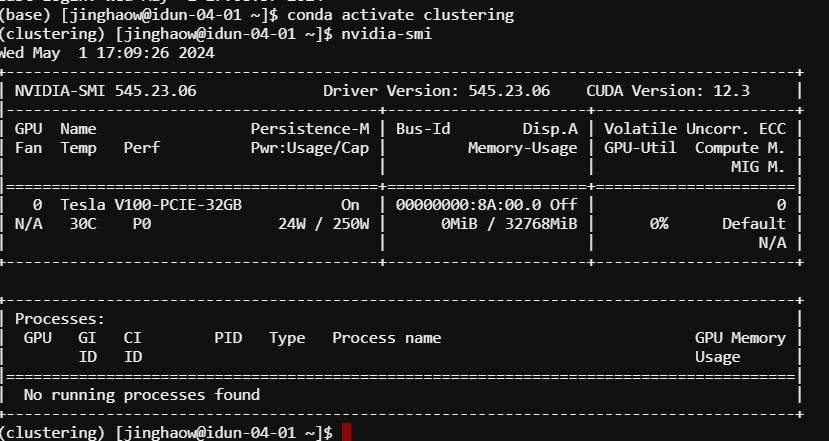
1 | nvidia-smi |
📚 Additional Resources
IDUN documentation:
https://www.hpc.ntnu.no/idun/Running jobs:
https://www.hpc.ntnu.no/idun/documentation/running-jobs/PyTorch HPC guide:
https://researchcomputing.princeton.edu/support/knowledge-base/pytorch
🧠 Final Notes
- Use network drive for easy file transfer
- Use SLURM (sbatch/srun) for real workloads
- Use Conda environments for reproducibility
- Prefer OnDemand UI if you’re new
🙏 Acknowledgement
Special thanks to Runar Mellerud and Anders Gytri for support and documentation on IDUN usage.
–Powered by automatic agent: OpenAI